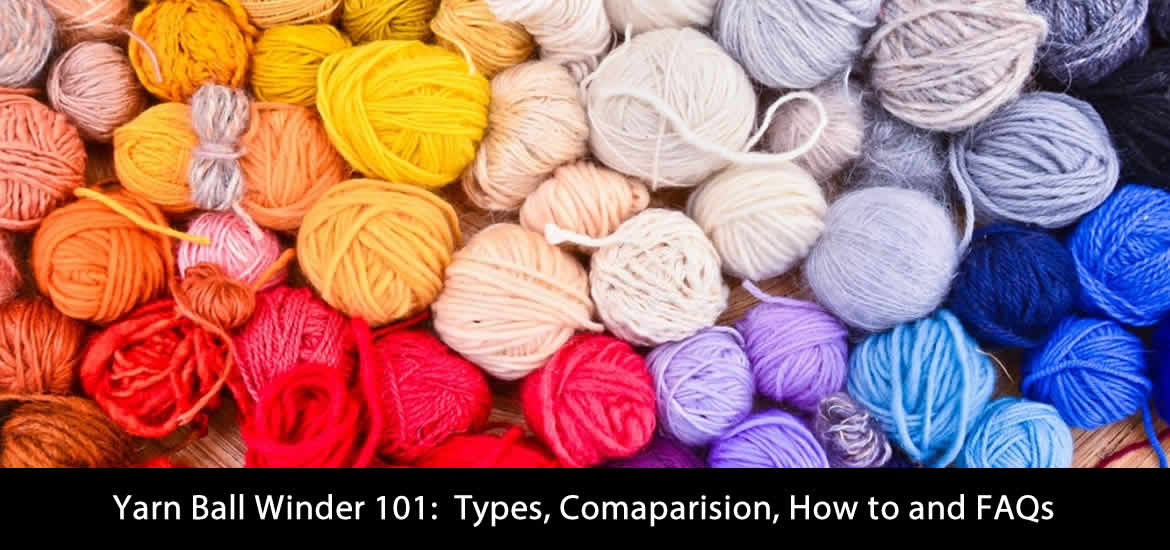
If you love knitting, you might want to consider getting a yarn ball winder. It’s a handy tool that can make your work easier and save you time.
Using a yarn ball winder requires some manual effort, but it can do a great job if you have enough time. Winding yarn by hand can be tiring and put a strain on your wrists, shoulders, and arms, causing discomfort and pain.
With a yarn ball winder, you can wind your skeins of yarn into neat, compact balls that are easy to work with. This can help prevent tangles and save you the hassle of having to untangle knots. Overall, a yarn ball winder can be an excellent investment for anyone who enjoys knitting and wants to make their work more efficient and enjoyable
Therefore, below is the full detail on the manual and electric yarn ball winder.
Manual Vs. Electric ball yarn winders
Are you tired of winding your yarn by hand? A ball winder might just be the solution to your problems. But which one should you choose: a manual or electric ball winder? Let’s explore the differences between the two.
Manual ball winders are operated by hand, using a crank to turn the gears and wind the yarn. They are typically smaller and less expensive than electric winders, making them a good choice for beginners or those on a budget. They are also lightweight and portable, so you can take them with you wherever you go.
Electric ball winders, on the other hand, are powered by electricity and can wind yarn much faster than manual winders. They are larger and heavier than manual winders, making them less portable. They can also be more expensive than manual winders, but they make up for it in speed and convenience.
So, which one is better? It really depends on your needs and preferences. If you don’t mind winding yarn by hand and want a more affordable option, a manual ball winder might be right for you. But if you have a lot of yarn to wind and want to do it quickly and efficiently, an electric ball winder might be worth the investment.
One thing to keep in mind when choosing a ball winder is the size of the yarn cakes it produces. Some manual winders can only make small to medium-sized cakes, while electric winders can make larger cakes. If you like to work with large amounts of yarn, an electric winder might be the way to go.
Ultimately, the decision between a manual and electric ball winder comes down to personal preference and budget. Both options will help you wind yarn quickly and easily, so you can spend more time on the fun part – knitting or crocheting!
Step by step guide to setting up a Yarn Ball Winder
If you’re a yarn enthusiast, you know how important it is to have a yarn ball winder in your toolkit. A ball winder helps you wind yarn into neat and tidy balls, making it easier to store and use. If you’ve just purchased a new yarn ball winder, here’s a step-by-step guide on how to set it up.
Step 1: Unbox the Yarn Ball Winder
When you receive your yarn ball winder, carefully unbox it and make sure that all the parts are included in the package. Check the instructions manual that came with it to make sure everything is there.
Step 2: Assemble the Yarn Ball Winder
Assemble the yarn ball winder by attaching the yarn guide arm, the yarn guide, and the spindle. Then, attach the yarn guide to the front of the yarn ball winder.
Step 3: Mount the Yarn Ball Winder
Mount the yarn ball winder onto a flat surface using the clamp provided with it. Make sure that it is securely attached to prevent it from wobbling or moving while winding the yarn.
Step 4: Thread the Yarn onto the Yarn Ball Winder
Thread the end of your yarn through the yarn guide, and then onto the spindle. Turn the spindle a few times to make sure the yarn is secure.
Step 5: Start Winding the Yarn
Start winding the yarn by turning the handle of the yarn ball winder in a clockwise direction. Use a steady and consistent pace to ensure even winding. Make sure that the yarn is winding evenly and the ball is forming correctly.
Step 6: Finish Winding the Yarn
Once you have wound all the yarn onto the ball, cut the end of the yarn and tuck it into the ball. Gently slide the ball off the spindle and use as desired.
Step 7: Clean and Store the Yarn Ball Winder
After you have finished using the yarn ball winder, clean it with a dry cloth to remove any dust or debris. Store it in a safe and dry place, ready for your next use.
That’s it! With these simple steps, you can set up your yarn ball winder and start creating neat and organized yarn balls for your knitting or crochet projects. Remember to take your time and practice winding until you get comfortable with the process. Happy yarn winding!
Tips For Using a Yarn Ball Winder
If you’re a crafter who loves to knit or crochet, a yarn ball winder can be a great tool to have. It helps you turn hanks of yarn into neat and tidy balls that are easy to work with. But using a yarn ball winder can take some practice and technique. Here are some tips to help you get the most out of your yarn ball winder:
- Make sure the yarn is securely attached to the winder: When you start winding, hold onto the end of the yarn to ensure it doesn’t slip or get tangled.
- Wind the yarn slowly and steadily: This will help prevent tangles or knots from forming in the yarn as it winds around the winder.
- Adjust the tension as needed: Depending on the thickness and texture of the yarn, you may need to adjust the tension on the yarn ball winder. A tighter tension is needed for thicker yarn, while a looser tension is better for thinner yarn.
- Don’t overfill the winder: It’s important to not put too much yarn on the winder at once, as this can cause it to jam or stop working properly. It’s better to wind smaller balls and then connect them as needed.
- Be mindful of the yarn’s direction: As you wind the yarn around the winder, pay attention to the direction you’re winding in. You want the yarn to wind in a consistent direction so that it doesn’t twist or knot up when you start using it.
- Keep the winder clean and well-maintained: Over time, yarn fibers and dust can accumulate on the winder, which can affect its performance. Make sure to clean it regularly and follow any maintenance instructions provided by the manufacturer.
By following these tips, you’ll be able to use your yarn ball winder more effectively and enjoy the benefits of neatly wound yarn balls. Happy crafting!
Frequently Asked Questions About Yarn Ball Winders
How do you wind yarn with a ball winder?
If you are new to using a yarn ball winder, the process is simple once you understand the basic steps. A yarn ball winder helps turn loose yarn, hanks, or skeins into neat yarn balls or cakes that are easier to store and use.
- Set up your winder: Place the ball winder on a sturdy surface. Make sure the clamp or suction cups are securely attached so the winder does not move while you are winding the yarn.
- Thread the yarn: Thread the yarn through the guide on top of the winder, then through the yarn guide on the front. Pull the yarn down and loop it around the center spindle.
- Start winding: Turn the handle clockwise to begin winding the yarn. Continue until you have a ball of yarn in the desired size.
- Finish the ball: Once enough yarn has been wound, cut the yarn and tie it off. Gently slide the yarn ball off the spindle and remove any leftover yarn from the winder.
With these steps, you can create neat and organized yarn balls that are easier to store and use for knitting or crocheting.
What are some tips for winding yarn with a ball winder?
To get better results when using a yarn ball winder, follow these helpful tips:
- Adjust the speed: If the yarn starts tangling, slow down the winding process.
- Control the tension: Adjust the yarn tension to avoid loose or overly tight yarn balls.
- Handle delicate yarn gently: Fine or delicate yarn can break if it is wound too quickly or tightly.
- Experiment with tension settings: Different yarn types may need different tension levels.
- Use a yarn swift: A swift can hold the yarn in place and reduce tangling while you wind.
How do you make a yarn ball winder?
Making your own yarn ball winder can be a fun DIY project, especially if you enjoy crafting and basic woodworking. However, it requires some tools and practical skills.
Here are the basic steps:
- Gather materials: You will need a wooden dowel or metal rod, a large wooden block or base, screws, washers, and a yarn guide or tensioner.
- Cut the dowel or rod: Use a saw to cut the dowel or rod to your desired length. The size depends on how large you want the yarn ball winder to be.
- Attach the dowel or rod to the base: Use screws and washers to attach the dowel or rod securely to the center of the wooden base. Make sure it does not wobble.
- Add a yarn guide: Attach a small dowel, rod, or commercial yarn guide at an angle to help guide the yarn smoothly onto the winder.
- Add a tensioner: A simple tensioner can be made by wrapping a rubber band around the dowel or rod and hooking it onto a small nail or screw on the base.
- Test the winder: Try winding yarn and adjust the tension and guide position as needed.
If you are not comfortable with DIY projects, buying a commercial yarn ball winder is usually easier, safer, and more reliable.
How can you use a yarn swift and a ball winder together?
A yarn swift and a ball winder work well together because the swift holds the yarn while the ball winder turns it into a neat yarn ball or cake.
- Set up the yarn swift on a table or counter.
- Place the hank or skein of yarn around the swift and adjust it so the yarn is held evenly.
- Take the yarn end and attach it securely to the ball winder.
- Place the ball winder on a flat surface near the swift.
- Turn the ball winder handle to begin winding.
- Guide the yarn gently as it winds to prevent tangles or uneven tension.
- When finished, cut the yarn and tuck the end under the last few wraps.
- Slide the yarn ball off the ball winder.
Using a swift and ball winder together can save time, reduce tangles, and create cleaner, more even yarn balls.
Why do you need a swift with a yarn ball winder?
A yarn swift is helpful because it holds the yarn skein in place while the ball winder turns it into a ball. Without a swift, the yarn may twist, tangle, or pull unevenly.
The swift allows the yarn to unwind smoothly and helps maintain steady tension. This produces a neater, more even yarn ball that is easier to use for knitting or crocheting.
Why do you use a yarn ball winder?
A yarn ball winder is used to turn hanks or skeins of yarn into tidy, compact yarn balls or cakes. It offers several benefits for knitters, crocheters, and other fiber artists.
- Organization: Wound yarn balls are easier to store, stack, and organize than loose hanks or skeins.
- Convenience: A center-pull yarn ball is easier to work with and is less likely to roll around or tangle.
- Consistency: A ball winder creates more uniform yarn balls with consistent tension and shape.
- Time-saving: Winding yarn by hand can take time, while a ball winder can complete the job much faster.
Overall, a yarn ball winder makes yarn easier to store, manage, and use during crafting projects.
How tight should a yarn ball winder work?
A yarn ball winder should create a secure and well-formed yarn ball, but it should not wind so tightly that it stretches, damages, or distorts the yarn.
The ideal tension depends on the yarn type, thickness, winding speed, and personal preference. Delicate yarns should be wound more gently, while thicker yarns may handle slightly firmer tension.
If the yarn ball feels too hard or the yarn looks stretched, reduce the tension or slow down the winding speed.
Why use a yarn ball winder instead of a skein of yarn?
Using a yarn ball winder can make yarn easier to handle compared to working directly from a skein.
- Easier to work with: A skein can become tangled or knotted. A center-pull yarn ball is more controlled and easier to use.
- Saves time: A ball winder winds yarn faster than winding by hand.
- Creates consistent yarn cakes: A yarn ball winder produces even, compact yarn cakes that are easier to manage.
- Better storage: Wound yarn balls are compact and organized, making them easier to store than loose skeins.
A yarn ball winder can make the yarn preparation process smoother, faster, and more enjoyable.
Conclusion
A yarn ball winder is a useful tool for knitters, crocheters, and fiber artists. It saves time, improves organization, helps maintain consistent yarn tension, and creates neat yarn balls that are easy to use.
Whether you choose a manual or electric yarn ball winder, proper setup and careful winding can help you get better results. With practice, a yarn ball winder can become an essential part of your crafting routine.